It's quarter to three on the wedding day. You're halfway through photos by the pond when your phone lights up. "What time does the ceremony start?" "Where are we meeting afterwards?" "Dinner's at seven, right?" The same three questions, over and over.
It was all on the invitation. But the invitation is a month old, buried at the bottom of some thread, and nobody wants to go digging for it. You're in the dress with a bouquet in one hand — not exactly set up to run the day's information desk.
What we shipped
A live schedule card on the RSVP page and on each guest's registration page. Write the schedule once, it shows up everywhere your guest might look — and updates in real time.
What makes it live is the clock. When an item is happening, an In-progress badge appears on the card, a prominent Now badge lands next to that row, and a soft progress bar fills along the bottom as the day progresses. Guests who open their phone mid-event see exactly where the day is.
Try it — tap "Show full schedule" to see a more detailed timeline.
Live schedule
The card guests see. One item is happening right now — open the schedule to browse descriptions, locations, and photos.
Dagskrá
- 21:45Ceremony
- 22:30Photos by the pond
- 23:30Drinks reception
- 01:00Dinner and speeches
- 03:45Cake cutting
Want to try it with your own event? Create an event in 2 minutes →
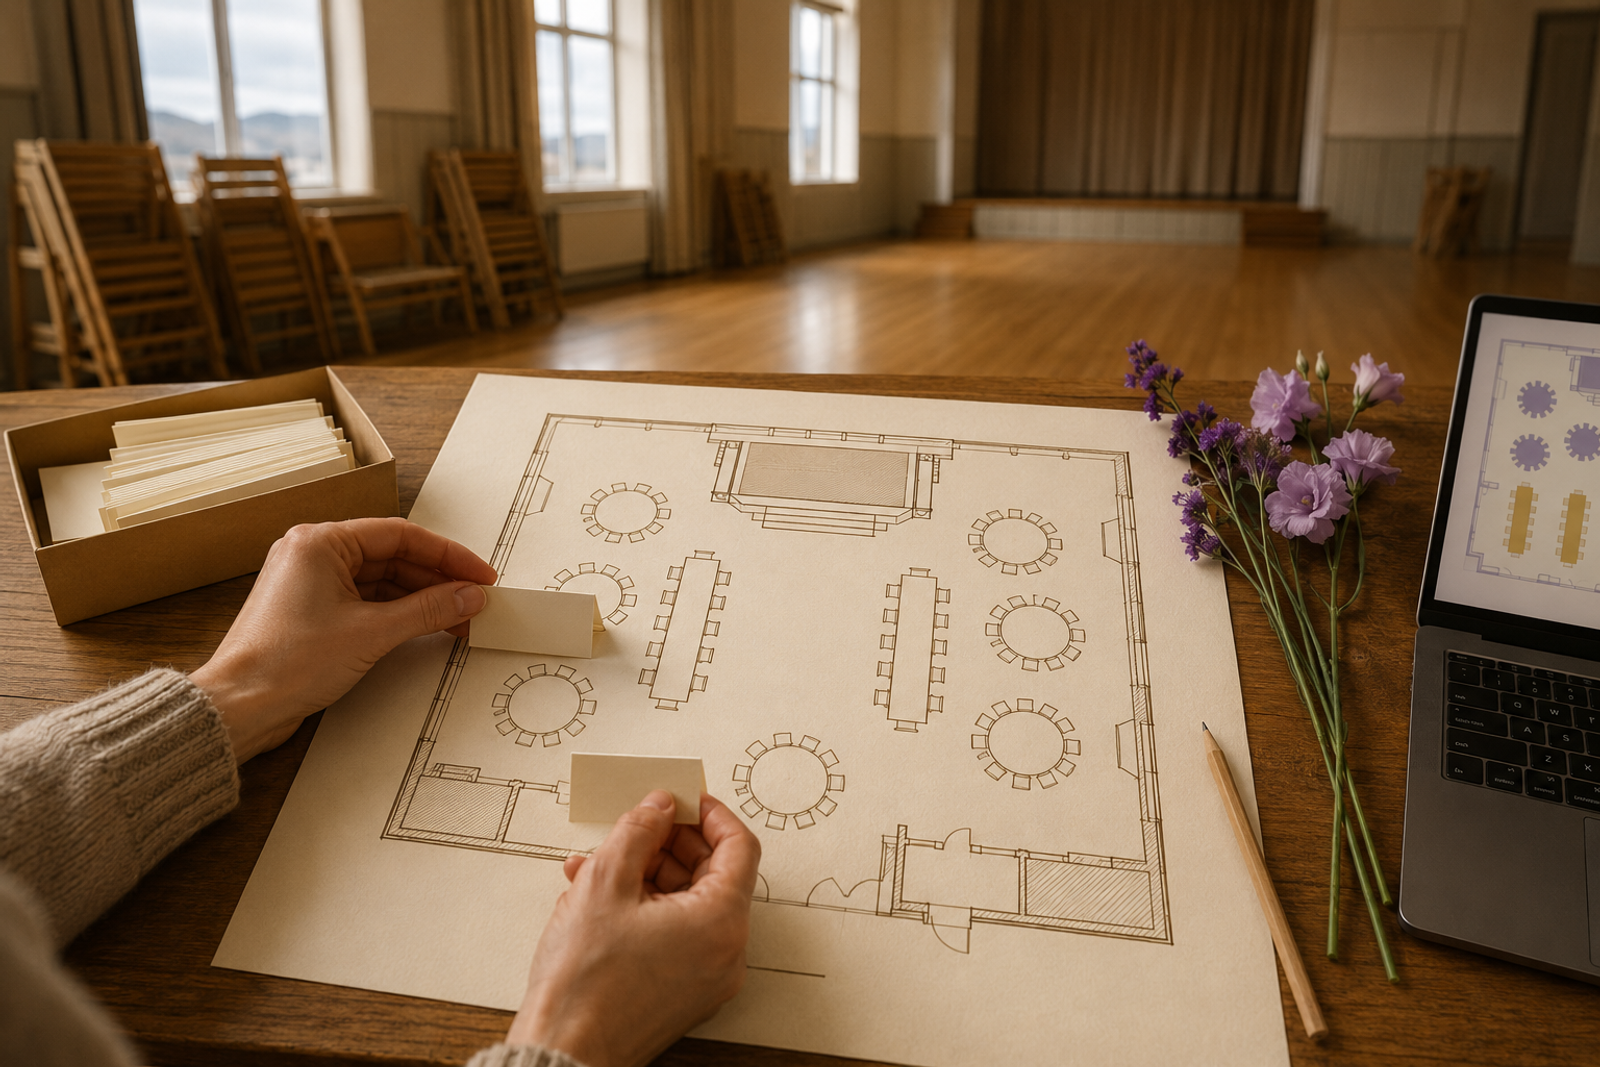
Building the schedule
One list, shaped by dragging. Simple to create, reorder, and time. Items are linked, so changing one duration shifts the start times of the others to keep the chain continuous.
Schedule editor
Drag a row to reorder. Click a time chip to nudge start or duration. Type at the bottom and press Enter to add. Click the trash to delete.
How it works
- In-progress badge on the card — shown while an item is currently happening.
- Prominent Now badge on the live row — a small mark by the time tells guests where the day is at.
- Compact preview + detailed timeline — the preview shows the first five items; "Show full schedule +X" opens the detailed timeline.
- Descriptions, locations, photos — each item gets a description, a map pin that links to Google Maps, and an image.
- You control when guests see the schedule — Draft (guests don't see), registered guests only, or anyone with a link to the event.
How to get started
- Create an event in Melda and add your guests — import from a spreadsheet or send invitations from inside Melda.
- Open the Schedule tab and add items: time, title, duration, and optional description, location, or photo.
- Choose visibility — registered guests only, open to everyone, or draft.
- Nothing else to think about — on the day, the schedule updates itself.
Real-life examples
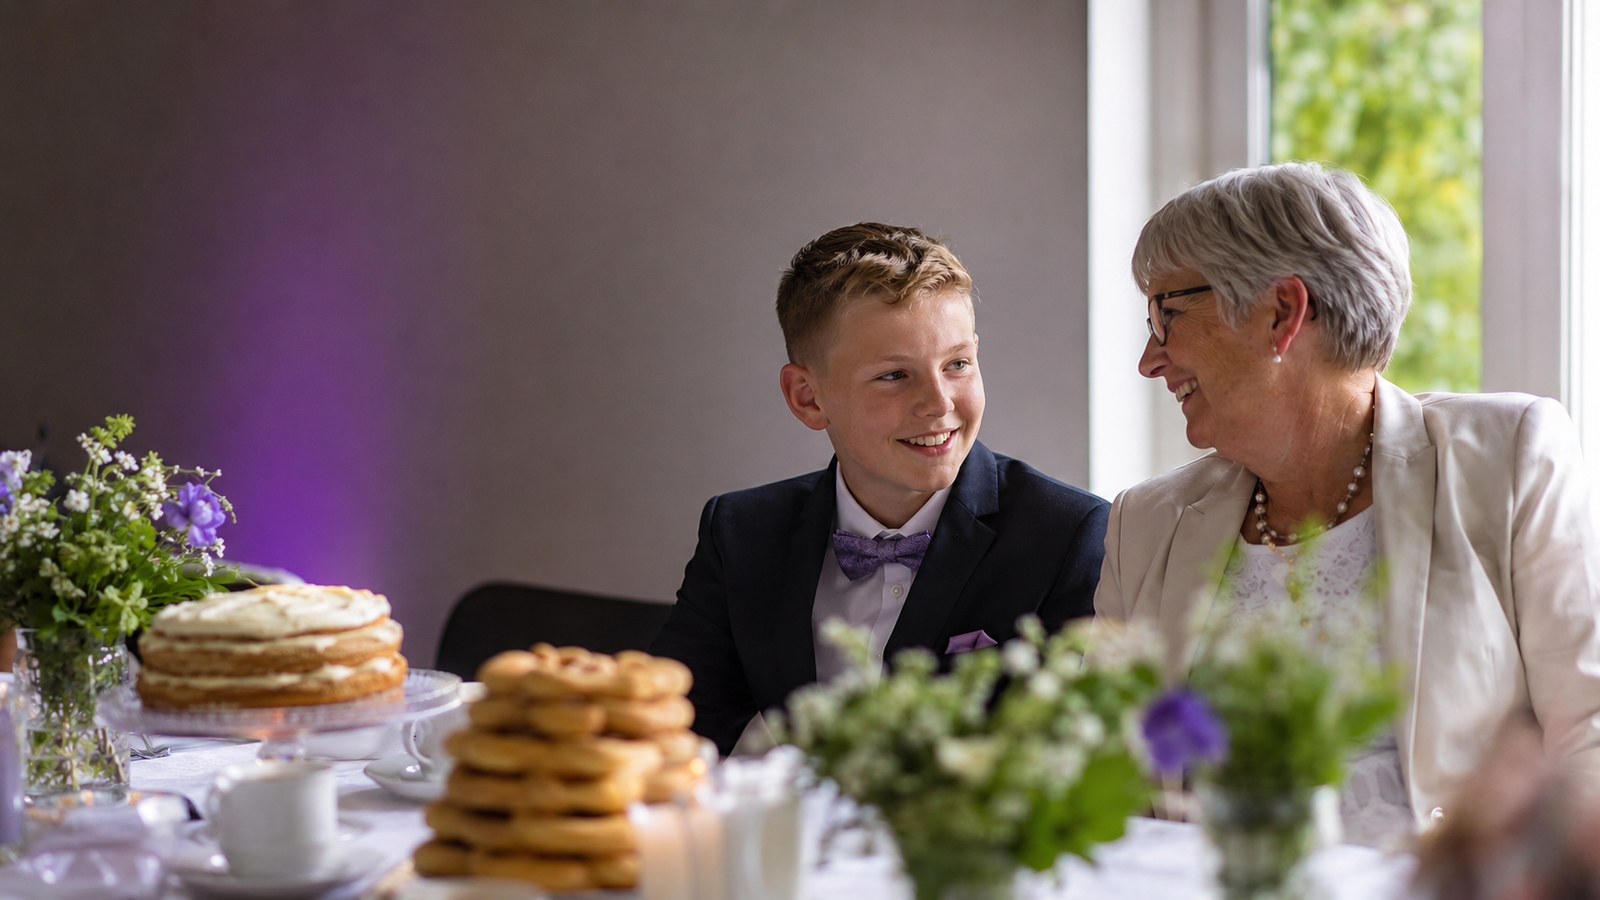
Ásta and Birkir's 120-guest wedding at Harpa. Ásta writes the schedule a week out: ceremony at Hallgrímskirkja at 15:00, photos by the pond, drinks reception in the Northern Lights Hall, dinner, cake cutting, dancing. The moment a guest confirms, they see the full schedule on their registration page — map pin and all. Nobody has to ask where to go next.
A 1,000-person staff gala. Reception, dinner, the act, dance floor — timing matters for staff who've travelled in from all over. You drag the rows into order, set durations, flip visibility to public. When the act goes on, guests see the Now badge and know the dance floor opens forty minutes later.
The bigger picture
RSVPs, seating, ticket scanning, and now a live schedule — all your info and data in one place.
Read about our seating chart or how QR ticket scanning works. Or create your event in Melda — it takes about two minutes.